A Simple Jenkins Workflow
Prerequisites
- This requires a Jenkins installation that has the following plugins:
- HTTP Request
- Docker Plugin
- Pipeline
- Pipeline Utility Steps
-
You will need a github account (other SCMs will work, but you will need to
change the steps appropriately)
-
You need MeX credentials.
- You need to modify the variables in the Jenkins file for the
jenks-test
repository to match your deployment.
Notes
- Although you can run Jenkins in a Docker container and configure it to
allow Docker containers to be spawned inside the Docker container (ie, Docker in
Docker), this is not really recommended. A better way is to spin up a VM and
install Jenkins there.
- If you want to use webhooks to trigger builds, you will need to either have
your Jenkins server exposed to the internet or you will need to port forward or
tunnel out to receive the inbound hooks. One way to do this is via the
ngrok utility.
- This document and the associated scripts are not intended for production use.
They are very rough, and should be viewed as a POC.
- This document is not a step-by-step process, rather it is more high level
and intended for someone with at least a passing knowledge of Docker and Jenkins.
Repositories
There are two key repositories we’ll be working with; these can be forked to your
own github repo so you can edit them.
Jenkins Flow
- Code is edited in the
hello-edge repository.
- The changes are committed and pushed to the
hello-edge repository.
- A build is trigged by an inbound webhook from Git in the
hello-edge repo.
- If that build is successful, it is pushed to the MobiledgeX Docker Repository.
- A trigger fires on completion of the workflow and causes a build to be started in the
jenks-test repository.
- This build does the following:
- Logs in using storged credentials from Jenkins.
- Generates a JWT.
- Checks for running AppInst, App, and ClusterInst.
- Deletes the AppInst, App, and ClusterInst.
- Deploys an App.
- Deploys a ClusterInst.
- Deploys an AppInst.
- If the build fails at any point, the subsequent steps will error out with the exception of the Show/Delete steps which accept 400 errors.
Flow Notes
- Currently, 400 errors are allowed in the Show and Delete phases, which accounts for components already being deleted.
Setting up Jenkins
Setting up Credentials
Go to the “Credentials” screen in your Jenkins installation; this can be seen on the left
hand side of the main screen. You will need to create two or three sets of credentials depending
on how your Github account is configured (with our without 2FA).
- Your MeX credentials
- Your Github Login/Pass
- Your Login and a Github OAUTH Token (if you have 2FA enabled).
Create a Jenkins Pipeline for hello-edge
There are a few key configuration options that need to be set.
- The
Github Project should be set to the URL of your repo.
- You need to indicate you are pulling the
Jenkinsfile from SCM. This requires
- The URL of your repo.
- The selection of your credentials (plain text if you do not have 2FA enabled, with the OAUTH if you do)
- The filename will be
Jenkinsfile
- You need to define how you want to trigger builds; you can do this manually, via a webhook (provided you meet the requirements), or a simple poll of the SCM.
- Be sure to update the Jenkinsfile to match your requirements in terms of repos, naming, etc.
You can begin the configuration process by selecting “New Item” on the lefthand menu bar, then providing a name
and clicking on the “Pipeline” option. Note that the name does not have to be the same as the repository.
These images here and here show a configuration that uses webhooks.
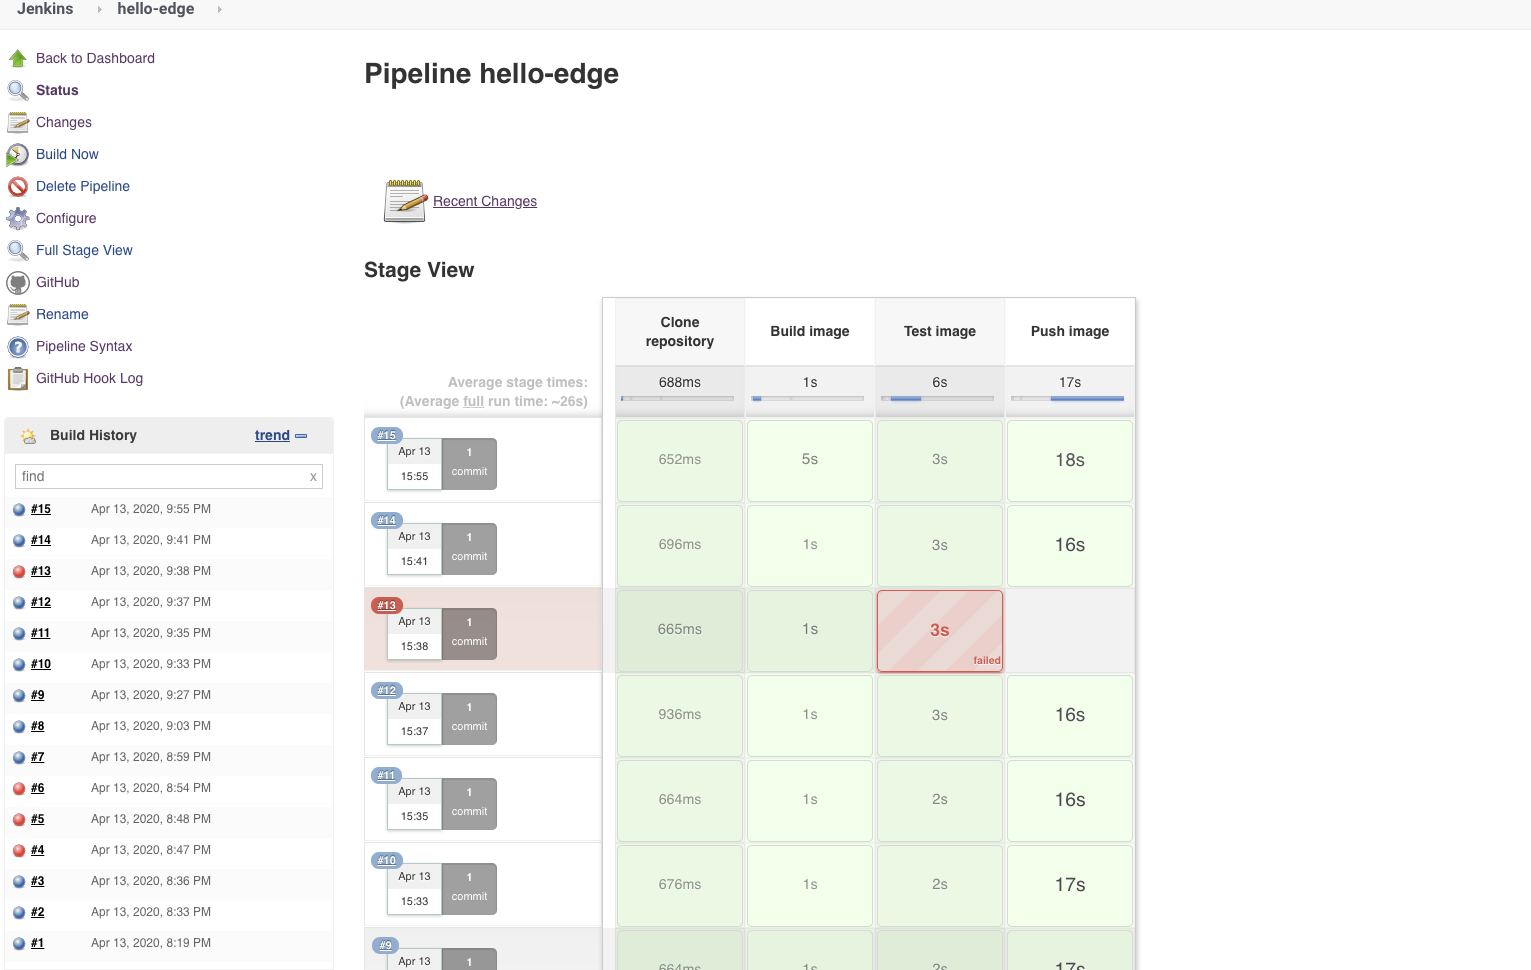
Run the Build
Click on the “Build Now” button for your project, even if you have setup webhooks, as our
first concern is to make sure the image builds.
You can watch the build from the screen for the pipeline you are running. If there is a failure,
you can use the tools on the left side to debug the issue. The “Console Output” option is usually
the easiest way to debug.
Create a Jenkins Pipeline for jenks-test
The jenks-test repo contains the necessary logic to deploy the docker image you have built to
the edge. Once again, please take the time to clone the repo and update your variables to match
your particular needs.
The configuration options that need to be set for this pipeline are as followed.
- The
Github Project should be set to the URL of your repo.
- You need to indicate you are pulling the
Jenkinsfile from SCM. This requires
- The URL of your repo.
- The selection of your credentials (plain text if you do not have 2FA enabled, with the OAUTH if you do)
- The filename will be
Jenkinsfile
- This build will be configured to only execute following a successful build of the Docker container.
- Be sure to update the Jenkinsfile to match your requirements in terms of repos, naming, etc.
As before, you can begin the configuration process by selecting “New Item” on the lefthand menu bar, then providing a name
and clicking on the “Pipeline” option.
Here is an example screen shot; note that in this case the project name
does not match the github project name.
FAQ
- Jenkins includes an integrated Snippet creator that you can access from inside a project page, via the
Pipeline Syntax menu item. This can help with the right syntax.
- These examples as they exist are not very robust, as they don’t contain error checking or conditional branching based on the state of the environment. Those tasks are left as projects for the reader.
- There are two types of commands inside Jenkins - there is a declarative syntax style and then a code syntax style. For this example, the container build process uses the declarative style, while the build process uses the code style.
- There are some tasks that can only be accomplished using the code style; if you need to use this approach you must wrap your code inside a
script{} block.
- Quoting inside a Jenkinsfile can be painful; the configuration files included with this example show the correct (and hard learned) quoting format for a number of variable types.
- If you are using webhooks, you must provide auth credentials to Gitub within the SCM / Webhook part of the configuration. You will also need to make sure you specify the correct URL for the webook to work. This is an example of a setup with the most current version of Jenkins.